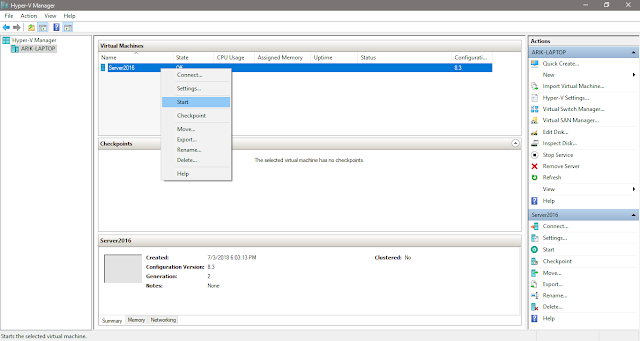
Open Hyper-V manager, right-click on the virtual machine, then select "Start" from the menu. This will begin booting up the VM. During setup, I selected a .ISO file as the installation media, so that's what will be booted.
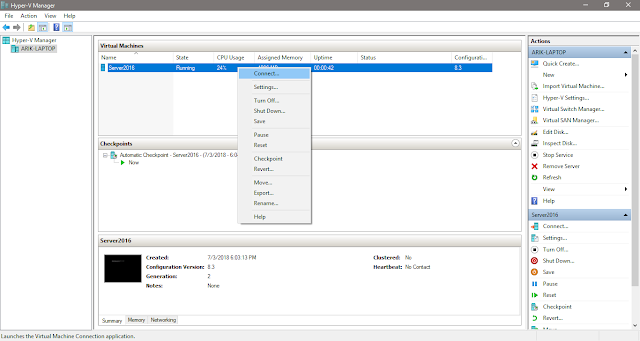
The virtual machine is now running, as shown in this screenshot. However, we are not yet connected to it, so we do not see a desktop or have any other way of interacting with it.
In order to work with the virtual machine, we need to right-click on it and select "Connect" from the menu.
Once the connection is completed, we are presented with the virtual machine's screen in a remote desktop window. From here, we can work with the virtual machine as if it were any other computer.
The installation of Windows Server 2016 can now begin. The first screen allows you to select language and region settings for your installation. For me, the default English (United States) is good. Select your language and region, then click "Next."
The next screen has no options that we need for the moment. If we wanted to use this .ISO to use the Recovery Console or perform other repair tasks, we could click "Repair your computer" in the bottom left. To begin configuring the installation, click "Install now."
Here, we will need to enter a valid product key before proceeding. As the dialog states, if this is not a new installation, but a reinstallation, you can choose "I don't have a product key", and Windows will be activated once the installation is completed and connected to the internet. Enter your product key, then click "Next."
On the next dialog, we can choose the "experience" of Windows to install. Windows Server 2016 does not necessarily require a graphical interface; if the server will be managed via remote tools like Powershell, we could save disk space and resources by running "headless" without a GUI. For our purposes, we will want to use the normal "Desktop Experience". Select the option you want, then click "Next."
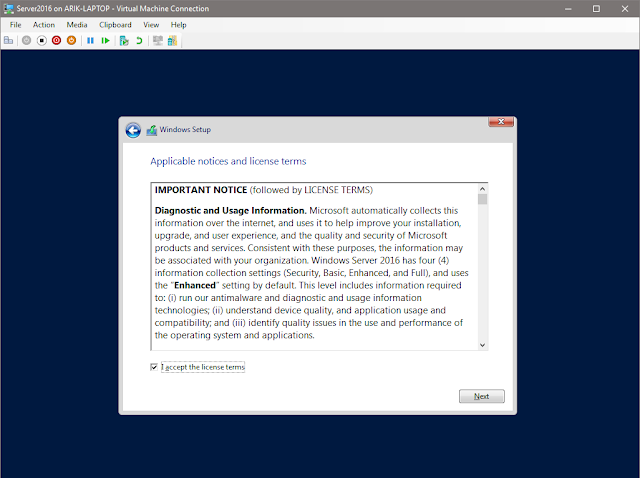
Before the installation can begin, you will need to accept the software license terms. Read the license terms if you wish, then check the box to accept the terms and click "Next."
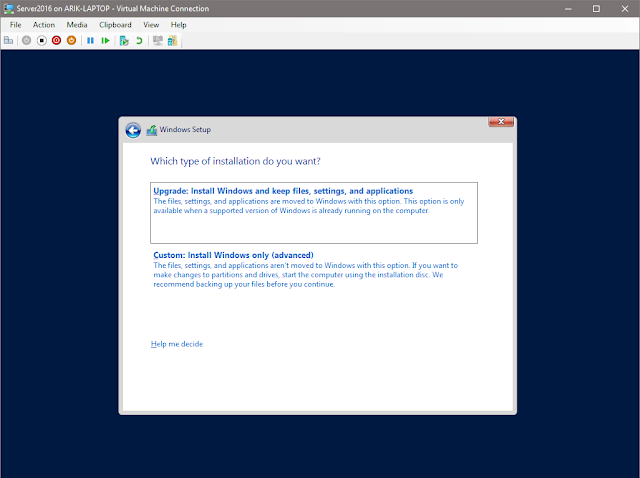
Now, we can select the type of installation we are performing. If we already had an installation of an older version of Windows Server (like 2012 R2), we could upgrade the operating system while leaving the rest of the files and programs intact. Since this is a new installation, I will choose "Custom: Install Windows only (advanced)." Click your installation type, which will automatically move you to the next screen.
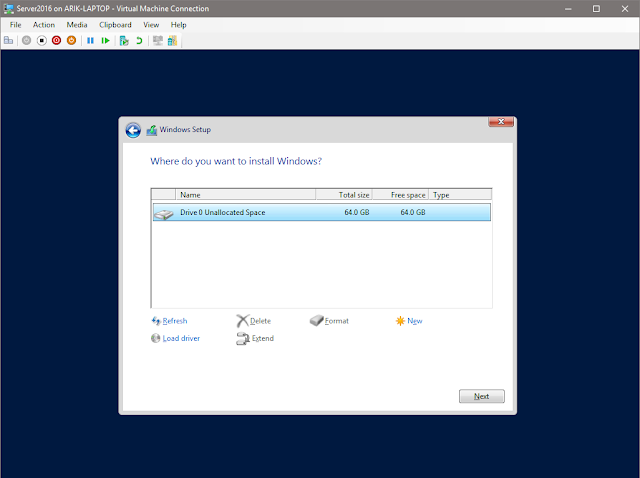
Your disk and partition setup may differ based on your situation and needs. In this case, the VM only has one hard drive with no partitions, so I will select it. Set your drive(s) up as required, then click "Next."
With that, the installation begins. This will take several minutes.
After the installation finishes, the VM will reboot, then ask you to set a password for the default Administrator account. Enter a password, then click "Next" to finish the installation.
We then see the standard Windows login screen. Press Ctrl+Alt+Del, then log in with the password that you just set.
Once the login process completes, you will briefly see the desktop, and then be greeted by the Server Manager Dashboard. Windows Server 2016 is now successfully installed.





No comments:
Post a Comment